Composting is not only a sustainable way to manage kitchen waste but also a rewarding practice that yields nutrient-rich soil for your garden. By diverting organic material from landfills and turning it into valuable compost, you can contribute to environmental conservation and enhance the health of your plants.
In this comprehensive guide, we’ll delve deeper into the steps involved in creating a composting system for your kitchen scraps, along with additional tips to maximize composting success.
Step 1: Choose a Composting Method
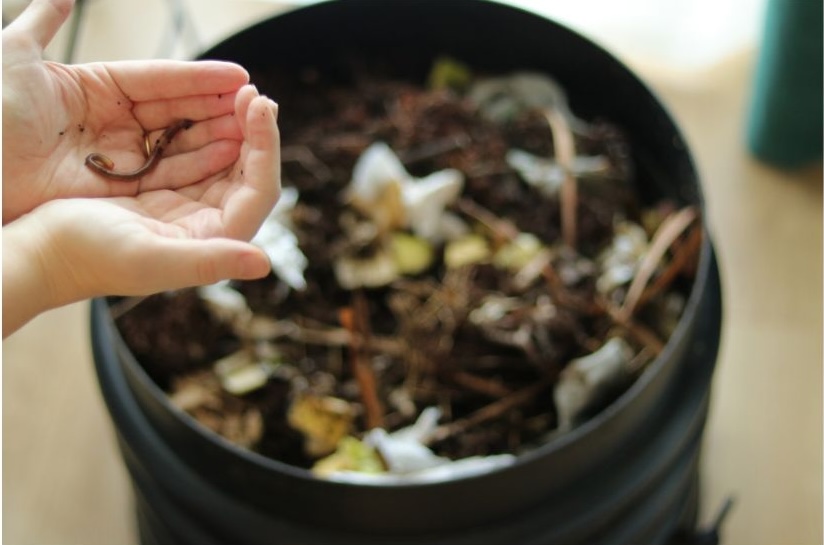
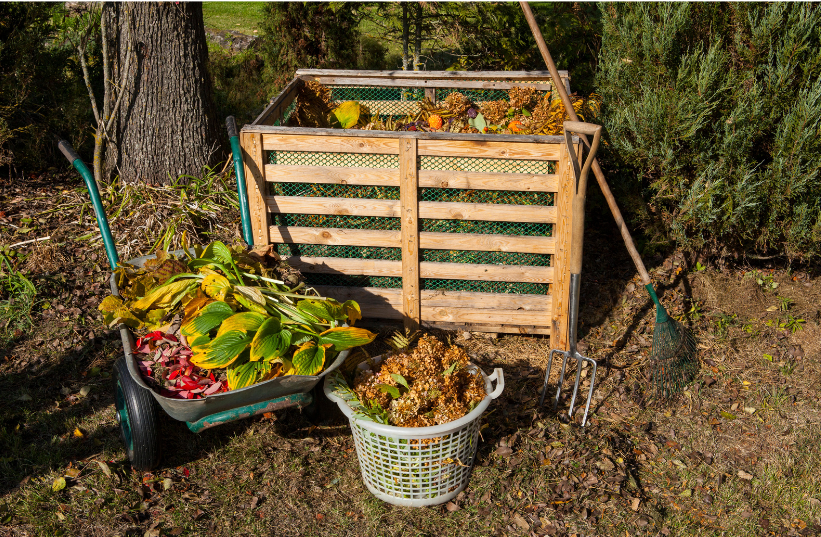
When selecting a composting method, consider factors such as available space, time commitment, and desired outcomes. Traditional backyard composting involves creating a pile or bin in your yard and layering organic materials to decompose over time. Vermicomposting, on the other hand, utilizes worms to break down kitchen scraps into nutrient-rich castings. Indoor composting systems, such as Bokashi bins or electric composters, are ideal for those with limited outdoor space or who prefer to compost year-round.
Step 2: Select a Composting Bin
Choosing the right composting bin is crucial for successful composting. Options range from DIY bins made from repurposed materials to commercially available bins designed for specific composting methods. Consider factors such as size, ventilation, and insulation when selecting a bin. Ensure that the bin allows for adequate airflow and drainage to promote aerobic decomposition and prevent odors.

Step 3: Collect Kitchen Scraps
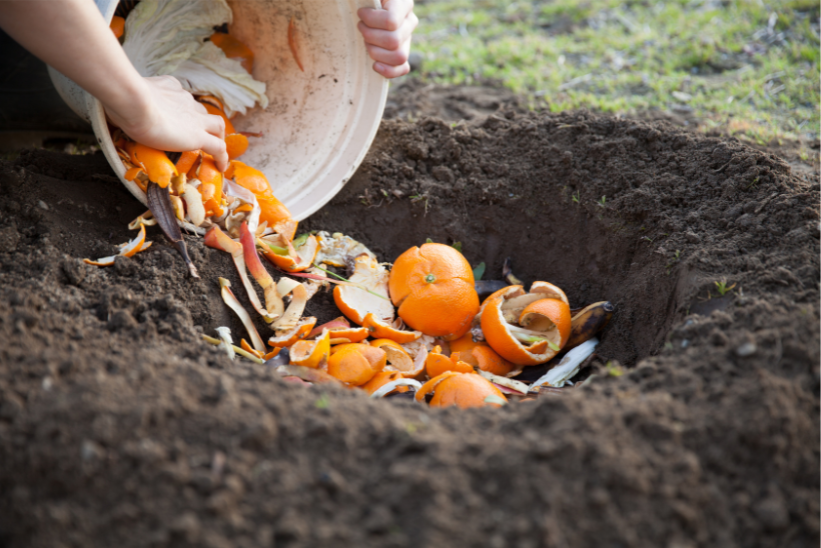
Collect a variety of kitchen scraps to add to your composting bin, including fruit and vegetable peels, coffee grounds, tea bags, eggshells, and non-greasy food scraps. Avoid adding meat, dairy, oily foods, and pet waste, as these can attract pests and cause unpleasant odors. Keep a small compost pail or container in your kitchen to collect scraps conveniently and minimize trips to the outdoor composting bin.

Step 4: Layer Materials
To create a balanced compost pile, alternate layers of green (nitrogen-rich) and brown (carbon-rich) materials in your composting bin. Green materials provide nitrogen and include kitchen scraps, grass clippings, and fresh garden waste. Brown materials supply carbon and include dried leaves, straw, shredded paper, and cardboard. Aim for a ratio of roughly 2 parts brown materials to 1 part green materials to achieve optimal composting conditions.

Step 5: Maintain Moisture and Aeration
Proper moisture and aeration are essential for the composting process. Keep your compost pile moist but not waterlogged by watering it occasionally with a watering can or hose. Turn or aerate the compost pile regularly using a pitchfork or compost turner to introduce oxygen and facilitate decomposition. This helps create aerobic conditions that encourage beneficial microorganisms to break down organic matter efficiently.

Step 6: Monitor and Adjust
Regular monitoring of your compost pile allows you to assess its progress and make necessary adjustments. Check the temperature, moisture level, and odor of the compost pile regularly to ensure that it’s functioning optimally. A well-balanced compost pile should feel warm to the touch, have a earthy smell, and maintain a consistent temperature. Adjust the moisture level by adding more brown materials if the pile becomes too wet or watering it lightly if it’s too dry.
Step 7: Harvest Your Compost
Once your compost has fully decomposed into dark, crumbly soil, it’s ready to be harvested and used in your garden. This process typically takes several months to a year, depending on factors such as temperature, moisture, and the size of your compost pile. Use a garden fork or shovel to scoop out finished compost from the bottom of the bin, leaving any unfinished material to continue composting.

Step 8: Use Your Compost
Put your finished compost to good use by incorporating it into your garden soil, potting mixes, or landscaping projects. Compost adds essential nutrients to the soil, improves soil structure and drainage, and enhances plant growth and vitality. Spread a layer of compost over garden beds as a natural fertilizer, mix it into planting holes when transplanting, or use it to topdress lawns and revitalize tired soil.

Additional Tips for Successful Composting:
- Shred or Chop Large Materials: Break down large or woody materials into smaller pieces before adding them to the compost pile to accelerate decomposition.
- Layer Greens and Browns Evenly: Distribute green and brown materials evenly throughout the compost pile to maintain a balanced carbon-to-nitrogen ratio.
- Cover the Compost Pile: Covering the compost pile with a tarp or lid helps retain moisture, regulate temperature, and prevent pests from accessing the pile.
- Add Compost Activators: Speed up the composting process by adding compost activators such as finished compost, manure, or commercial compost starters.
- Turn the Pile Regularly: Turning the compost pile every few weeks aerates the pile, mixes the materials, and promotes even decomposition.
- Keep Out Unwanted Guests: To deter pests such as rodents and raccoons, avoid adding meat, dairy, oily foods, and pet waste to the compost pile.
- Monitor Temperature and pH: Regularly check the temperature and pH of your compost pile to ensure optimal conditions for decomposition. Aim for a temperature between 120-150°F (49-65°C) and a slightly acidic to neutral pH level.
- Use a Compost Thermometer: Invest in a compost thermometer to accurately monitor the temperature of your compost pile and ensure that it remains within the optimal range for decomposition.
Check out the city of west sacramento composting tips here
Final Thoughts
Creating a composting system for your kitchen scraps is a sustainable and rewarding endeavor that benefits both the environment and your garden. By following these steps and implementing additional tips for successful composting, you can turn kitchen waste into valuable compost that enriches your soil and nurtures your plants.
Check out our blog on unexpected events that can influence the sale of your home here


